The integration between Zoho and Books PowerEcommerce ensures seamless data exchange, enhances operational efficiency, and streamlines business processes.
Customers
Vendors
Sales Order/Invoices
Quotes/Estimates
Products (If on PO/Order/Quote)
Purchase Orders
Customize Your Login Page
The login page is often the first touchpoint for returning customers. A well-designed page can:
Reinforce your brand identity
Improve user experience
Encourage repeat purchases
Add a welcome message
Your logo/banner
Instructions/benefits
Step-by-Step Customization Guide
1. Access Your Login Page Design options:
Go to your PowereCommerce Admin → Settings → Login Page Settings
Click Actions → Edit Code
2. Replace Default Register Box Text with HTML or Text ( If needed )
On your sites login page to the right of the users login credentials the box with heading 'Register a new account or continue as Guest'. You can replace this with your own wording or HTML as needed.
Edit/Add the HTML/Text.
Save Changes
3.Add Top of Page HTML or Text ( If needed )
This option gives you the ability to your own test or HTML to the top of the Login Page replacing the default text.
Edit/Add the HTML/Text.
Save Changes
4. Add Bottom of Page HTML or Text ( If needed )
This option gives you the ability to your own test or HTML to the bottom of the Login Page.
Edit/Add the HTML/Text.
Save Changes
Customizing email notification templates
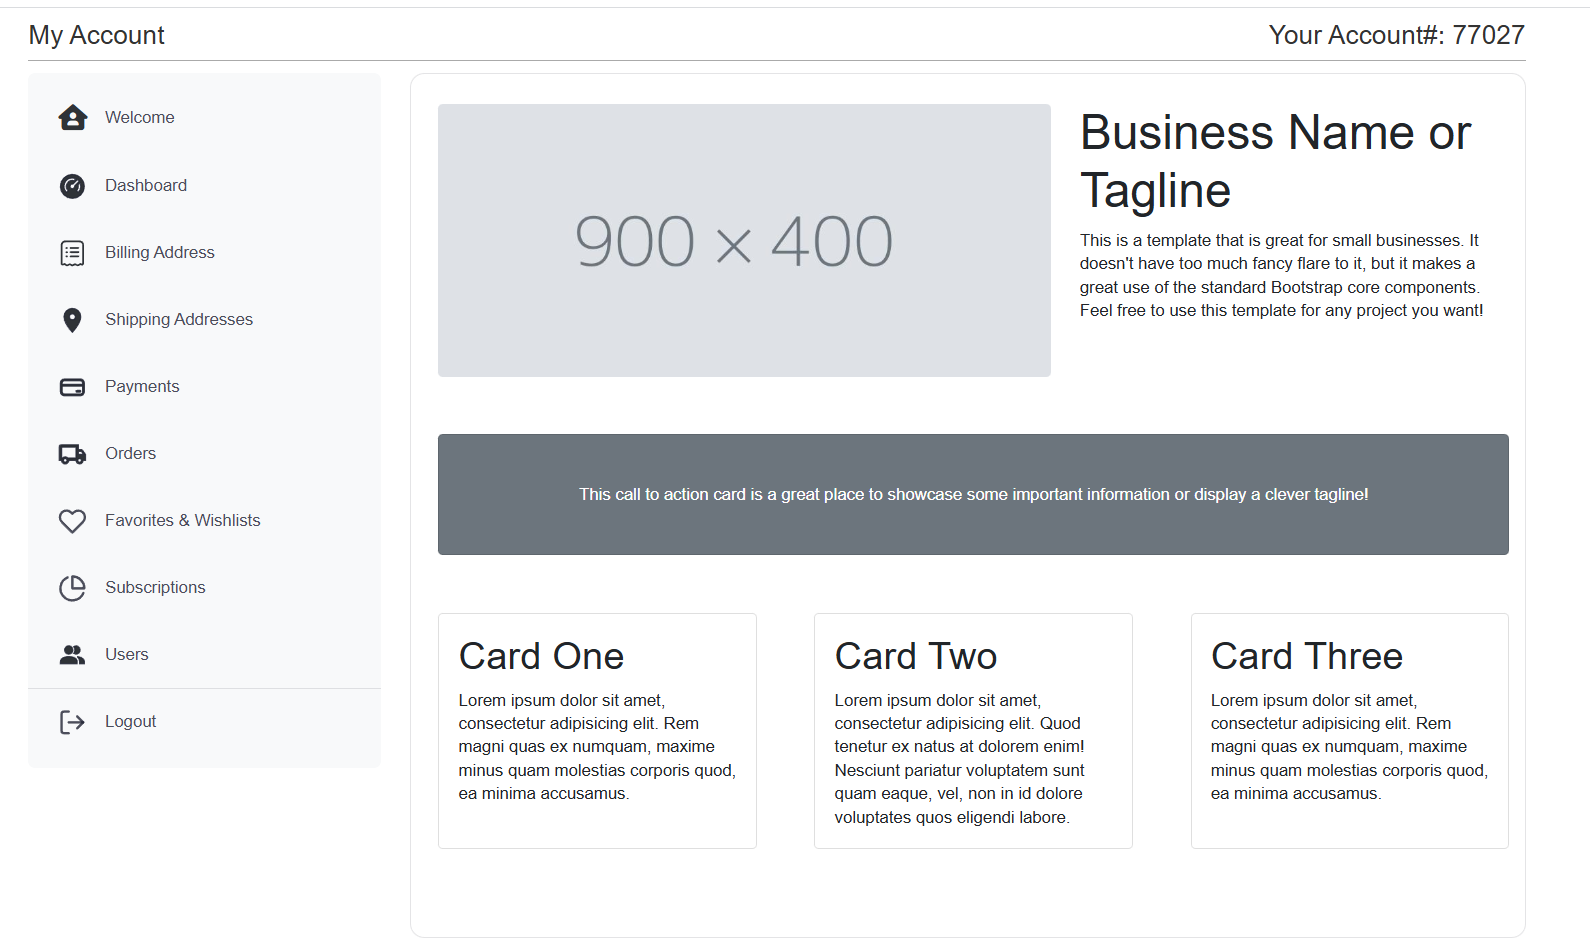
Did you know that you can add a Landing Page to your My Account pages. By default, when your customers log in they see the standard Dashboard. If you add MyAccount Content page your customer will be giving the message you want. Make it simple or as complex as you want.
Example A:
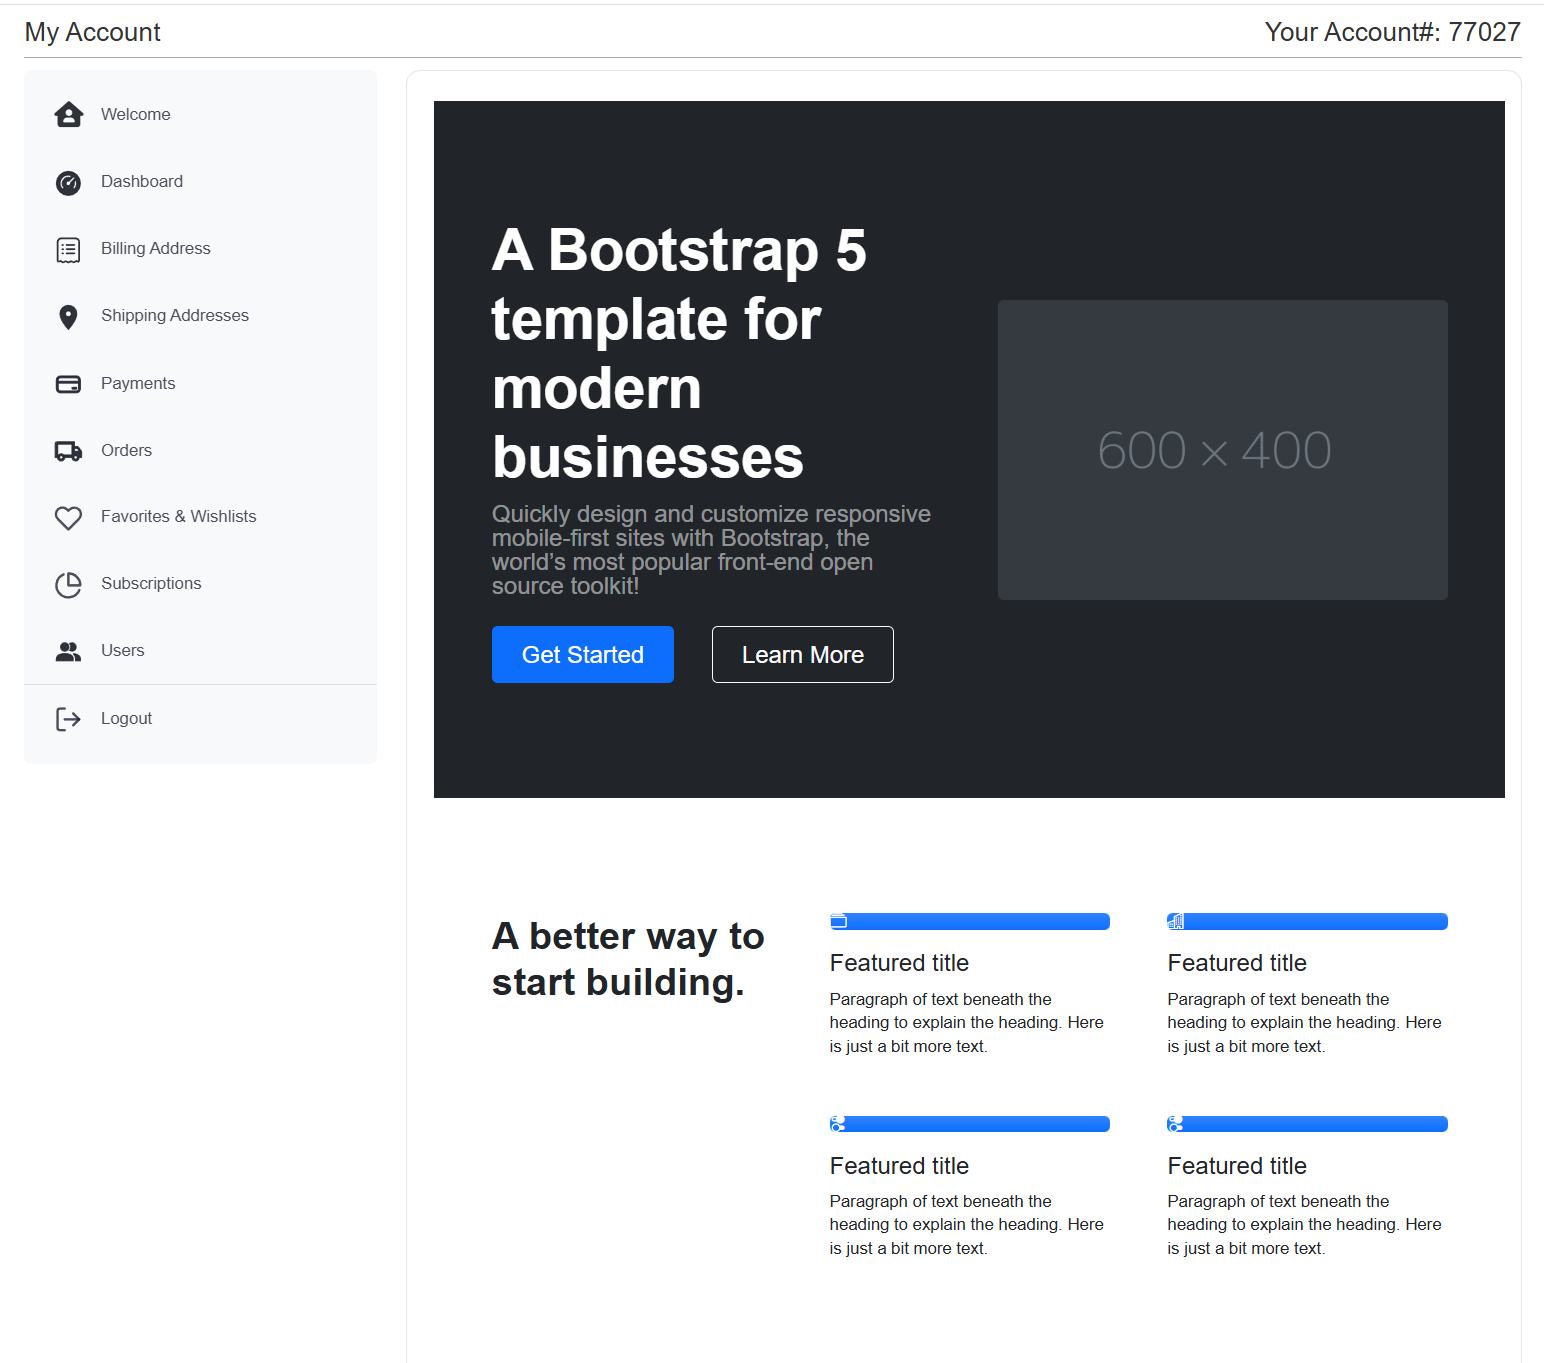
Example B:
Go to Settings > Content Manager > My Account Page in your admin and use the WYSIWYG Editor or RAW Editor (best you have any html skills).